[C++(OpenCV)] Samples(Contours2.cpp) 및 OpenCV 프로젝트 소개
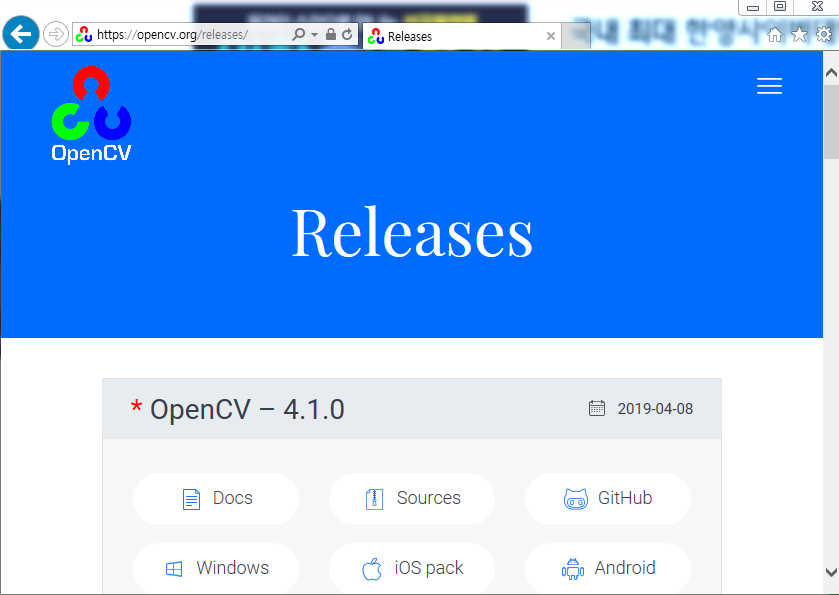
1. OpenCV란?
|
OpenCV (Open Source Computer Vision Library) is an open source computer vision and machine learning software library. OpenCV was built to provide a common infrastructure for computer vision applications and to accelerate the use of machine perception in the commercial products. Being a BSD-licensed product, OpenCV makes it easy for businesses to utilize and modify the code. The library has more than 2500 optimized algorithms, which includes a comprehensive set of both classic and state-of-the-art computer vision and machine learning algorithms. These algorithms can be used to detect and recognize faces, identify objects, classify human actions in videos, track camera movements, track moving objects, extract 3D models of objects, produce 3D point clouds from stereo cameras, stitch images together to produce a high resolution image of an entire scene, find similar images from an image database, remove red eyes from images taken using flash, follow eye movements, recognize scenery and establish markers to overlay it with augmented reality, etc. OpenCV has more than 47 thousand people of user community and estimated number of downloads exceeding 18 million. The library is used extensively in companies, research groups and by governmental bodies. Along with well-established companies like Google, Yahoo, Microsoft, Intel, IBM, Sony, Honda, Toyota that employ the library, there are many startups such as Applied Minds, VideoSurf, and Zeitera, that make extensive use of OpenCV. OpenCV’s deployed uses span the range from stitching streetview images together, detecting intrusions in surveillance video in Israel, monitoring mine equipment in China, helping robots navigate and pick up objects at Willow Garage, detection of swimming pool drowning accidents in Europe, running interactive art in Spain and New York, checking runways for debris in Turkey, inspecting labels on products in factories around the world on to rapid face detection in Japan. It has C++, Python, Java and MATLAB interfaces and supports Windows, Linux, Android and Mac OS. OpenCV leans mostly towards real-time vision applications and takes advantage of MMX and SSE instructions when available. A full-featured CUDAand OpenCL interfaces are being actively developed right now. There are over 500 algorithms and about 10 times as many functions that compose or support those algorithms. OpenCV is written natively in C++ and has a templated interface that works seamlessly with STL containers. |
| OpenCV(Open Source Computer Vision Library)는 오픈 소스 컴퓨터 비전 및 기계 학습 소프트웨어 라이브러리다. OpenCV는 컴퓨터 비전 애플리케이션을 위한 공통 인프라를 제공하고 상용 제품의 기계 인식 사용을 가속화하기 위해 구축되었다. BSD 라이센스 제품인 OpenCV는 기업이 코드를 쉽게 활용하고 수정할 수 있도록 한다. 도서관에는 2500개 이상의 최적화된 알고리즘이 있는데, 여기에는 고전과 최첨단 컴퓨터 비전과 기계 학습 알고리즘의 포괄적인 집합이 포함된다. 이러한 알고리즘은 얼굴을 감지하고 인식하고, 물체를 식별하고, 비디오에서 인간의 행동을 분류하고, 카메라 움직임을 추적하고, 움직이는 물체를 추적하고, 3D 모델의 물체를 추출하고, 스테레오 카메라에서 3D 포인트 클라우드를 생성하며, 전체 장면의 고해상도 이미지를 생성하기 위해 이미지를 함께 꿰매고, 이미지 데이터에서 유사한 이미지를 찾는 데 사용될 수 있다.기본, 플래시를 사용하여 촬영한 영상에서 붉은 눈을 제거하고, 눈의 움직임을 추적하며, 풍경을 인식하며, 마커를 설정하여 증강 현실과 겹치는 등 OpenCV는 4만 7천 명 이상의 사용자 커뮤니티를 보유하고 있으며, 1,800만 건 이상의 다운로드 수를 추산하고 있다. 이 도서관은 기업, 연구 단체, 정부 기관에서 광범위하게 사용되고 있다. 구글, 야후, 마이크로소프트, 인텔, IBM, 소니, 혼다, 도요타와 같이 도서관을 채용하는 잘 확립된 기업들과 함께, OpenCV를 폭넓게 활용하는 어플라이드 마인드, 비디오 서프, 자이테라 같은 스타트업들이 많이 있다. OpenCV의 구축된 용도는 가로 이미지를 함께 꿰매기, 이스라엘 감시 비디오의 침입 탐지, 중국의 광산 장비 모니터링, 윌로우 가리지에서 로봇의 탐색을 돕고, 유럽에서 수영장 물에 빠진 사고 발견, 스페인과 뉴욕에서 인터랙티브 아트 실행, 체크런 등 다양한 범위에 걸쳐 있다.터키의 잔해 처리 방법, 세계 각지의 공장에서 제품에 부착된 라벨을 검사하여 일본에서 신속한 얼굴 검출을 할 수 있는 방법. C++, 파이썬, 자바, MATLAB 인터페이스를 갖추고 있으며 윈도, 리눅스, 안드로이드, 맥 OS를 지원한다. OpenCV는 대부분 실시간 비전 애플리케이션으로 기울며 사용 가능한 경우 MMX 및 SSE 지침을 활용한다. 모든 기능을 갖춘 CUDA와 OpenCL 인터페이스는 현재 활발하게 개발되고 있다. 500개 이상의 알고리즘이 있으며, 그러한 알고리즘을 구성하거나 지원하는 기능도 약 10배 정도 된다. OpenCV는 기본적으로 C++로 작성되며, STL 컨테이너와 원활하게 작동하는 온도 조절 인터페이스를 갖추고 있다. |
2. Sample(Contours2.cpp)
CV 셈플은 아래의 사이트에서 확인할 수 있습니다.
https://docs.opencv.org/4.1.0/examples.html
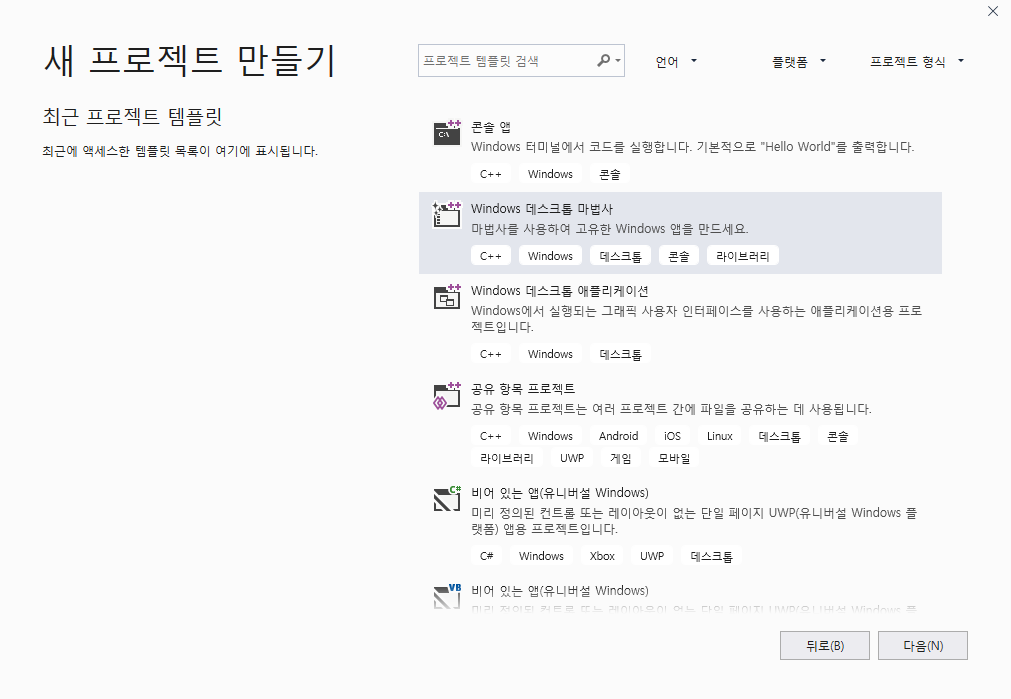
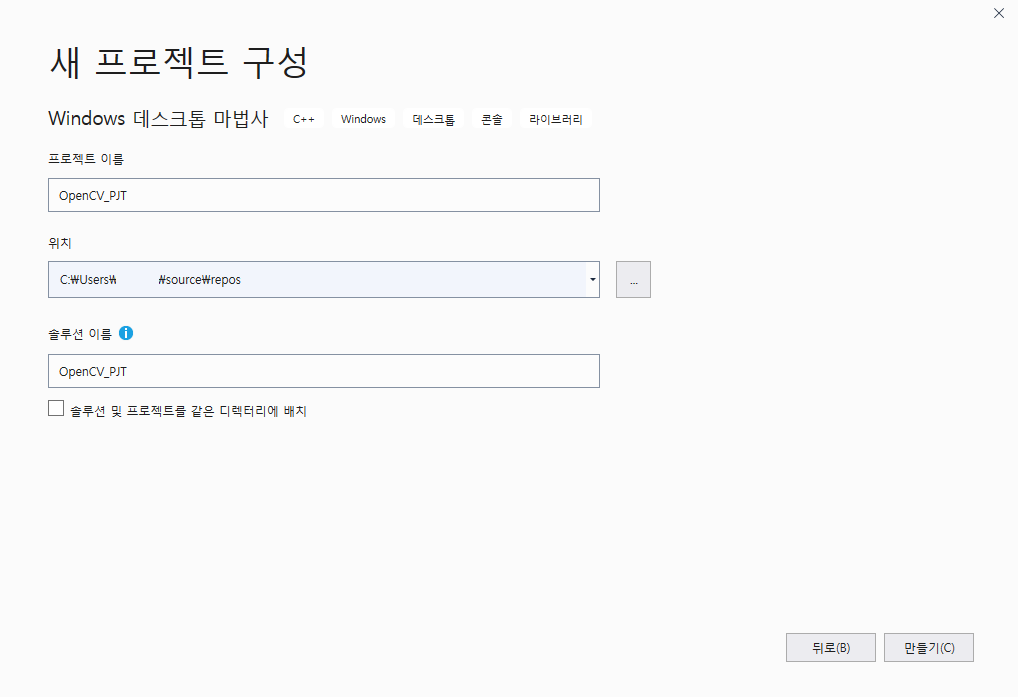
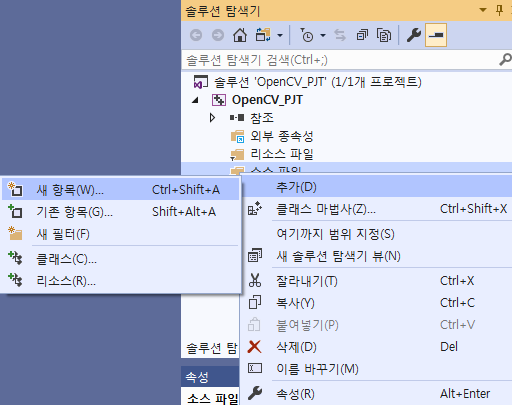
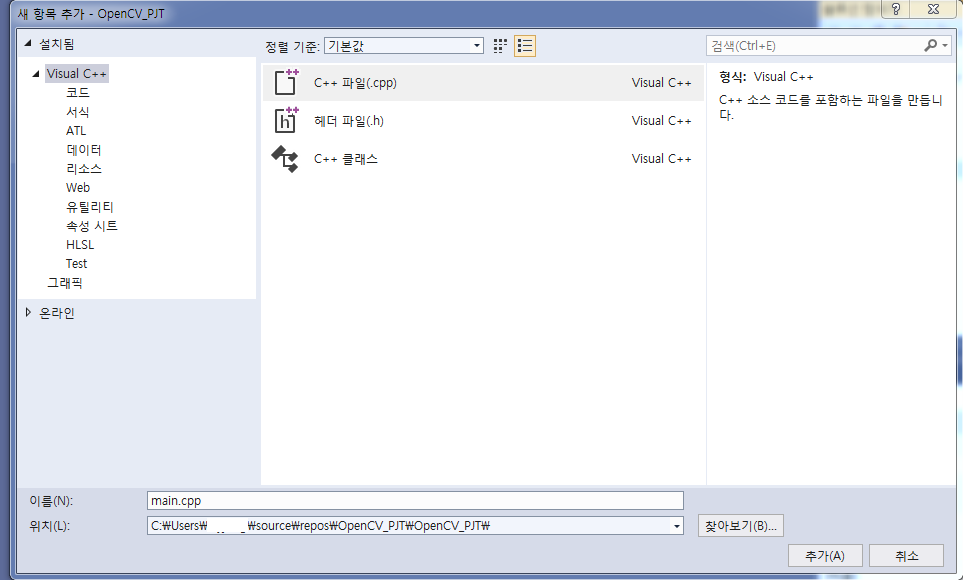
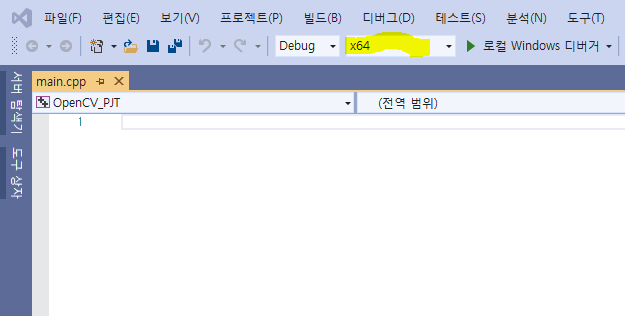
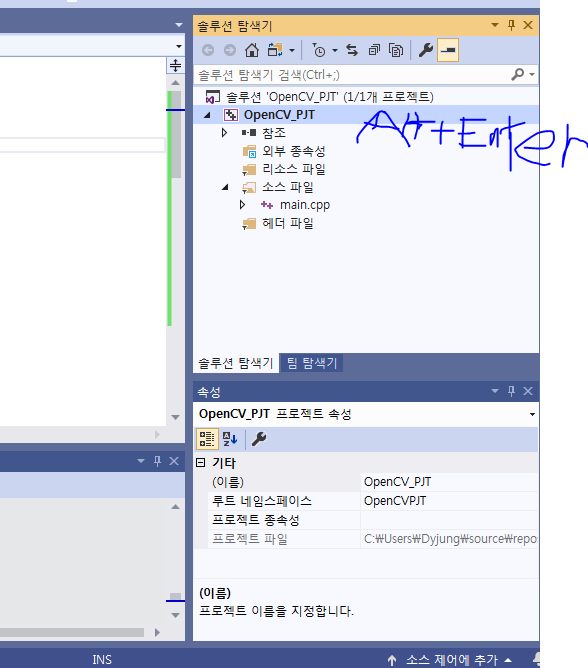
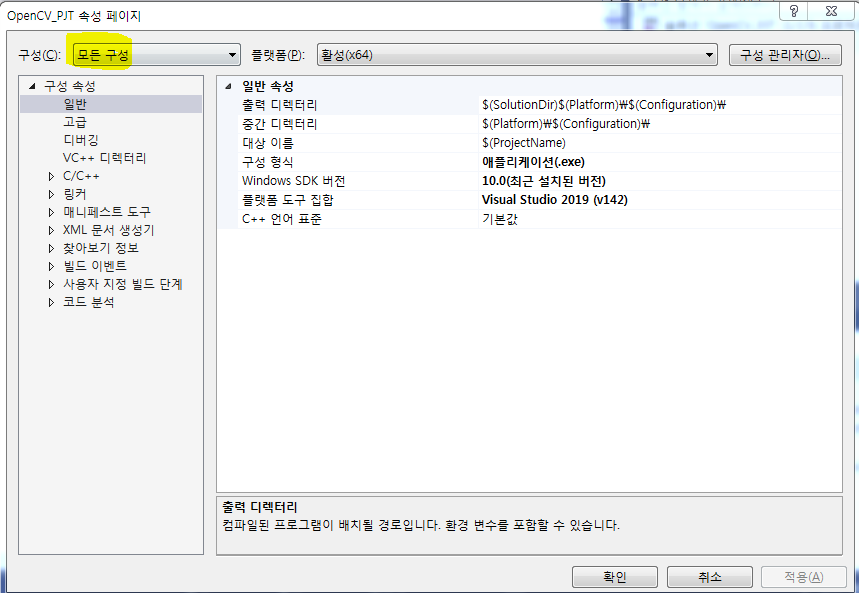
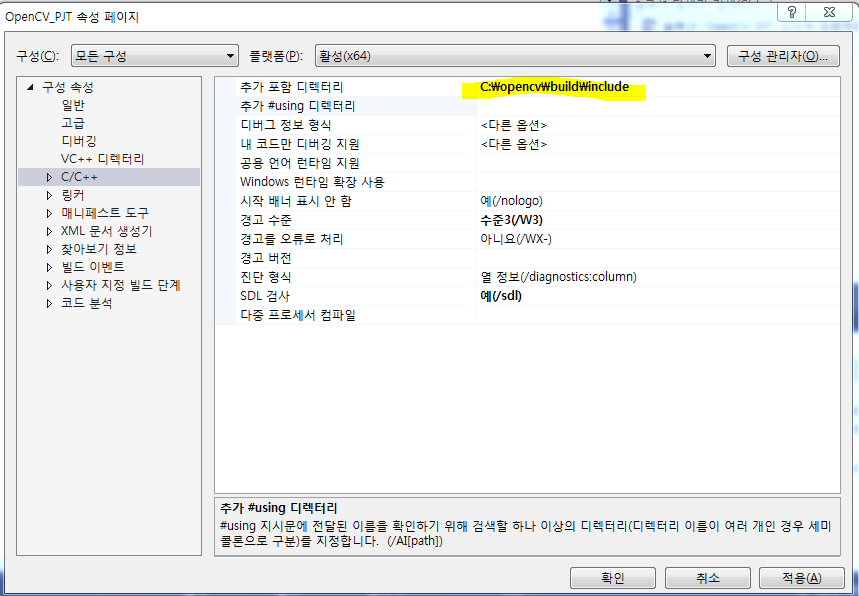
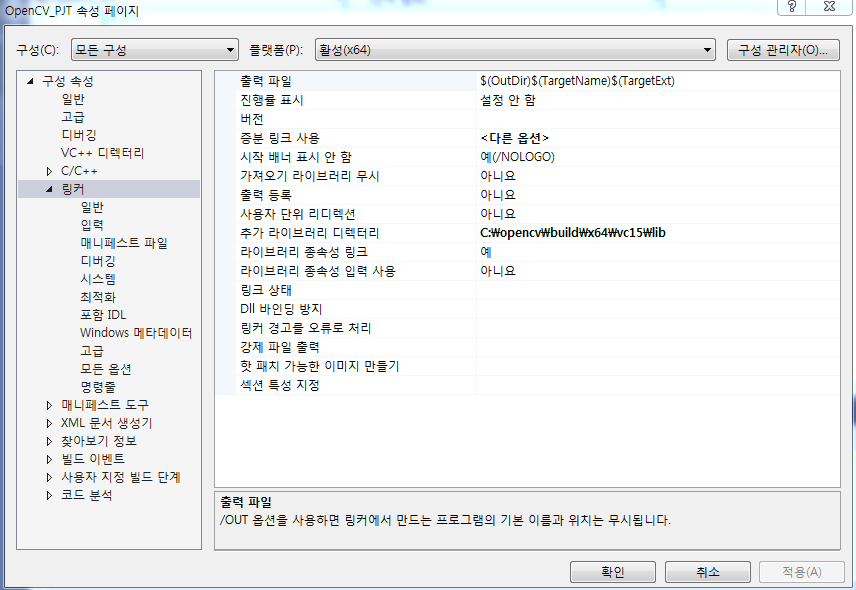
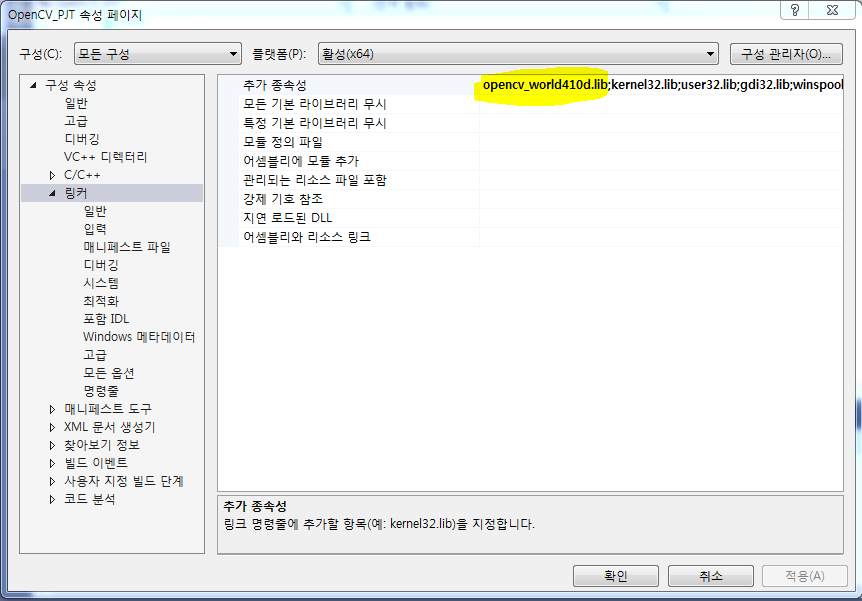
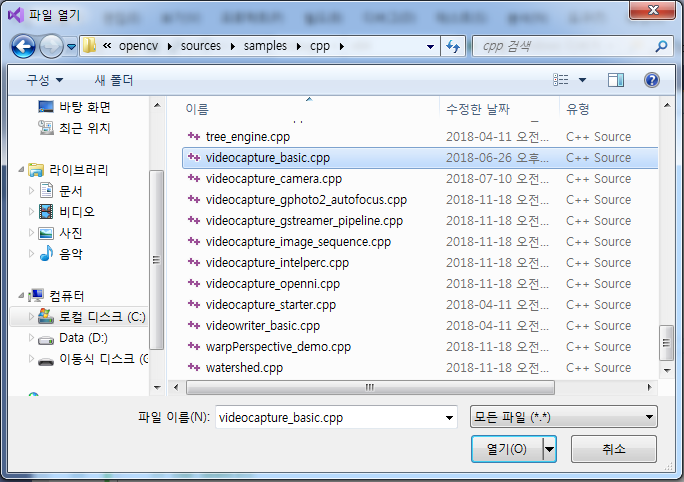
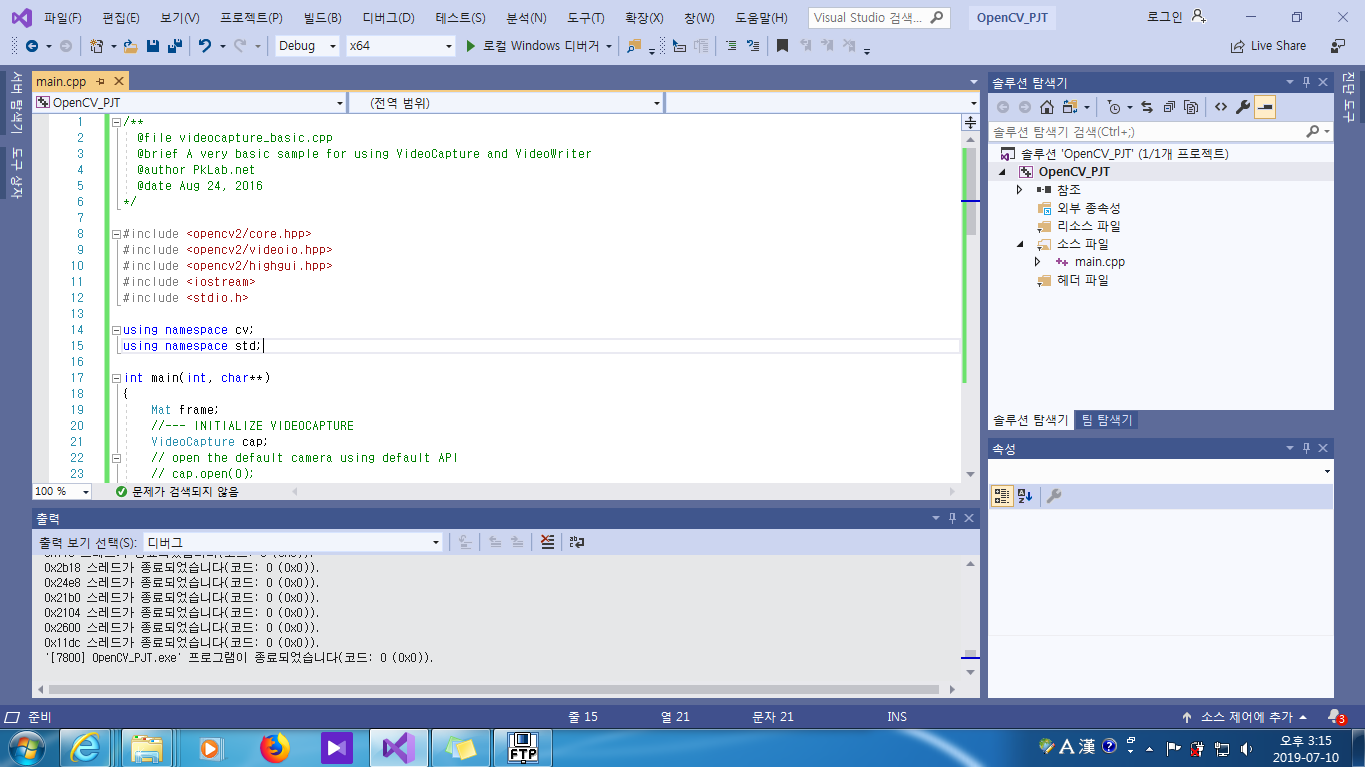
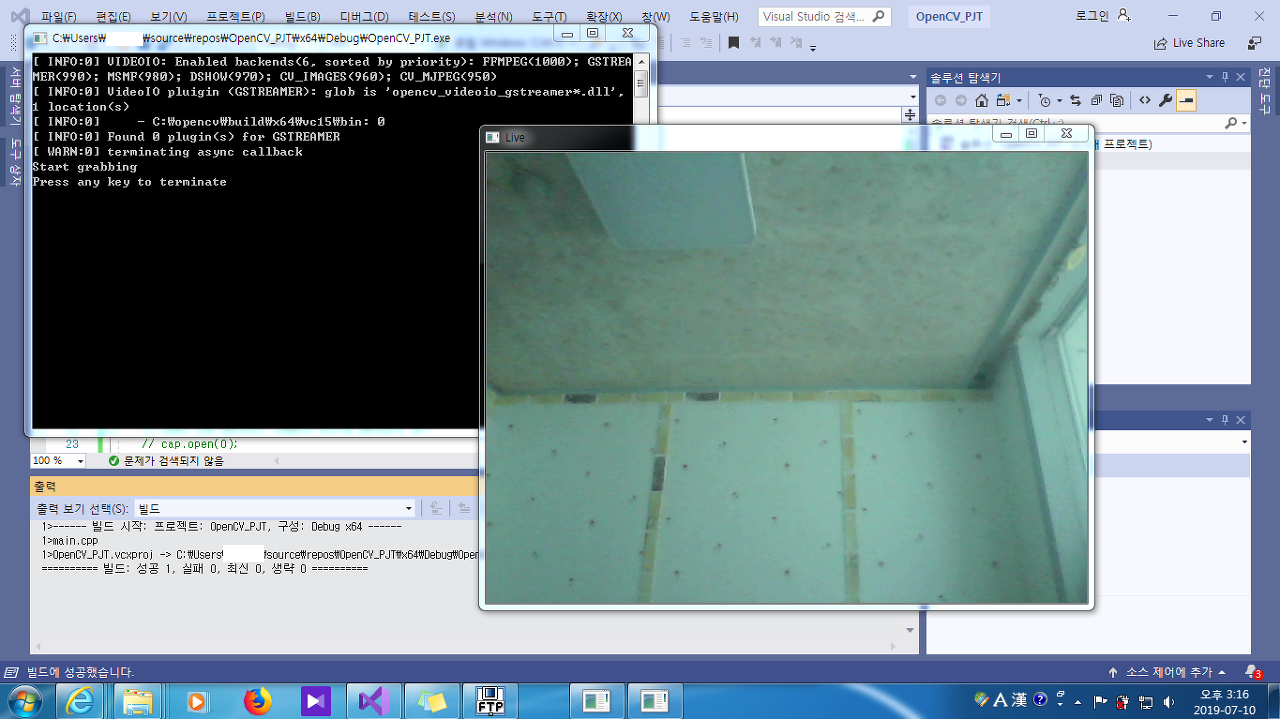
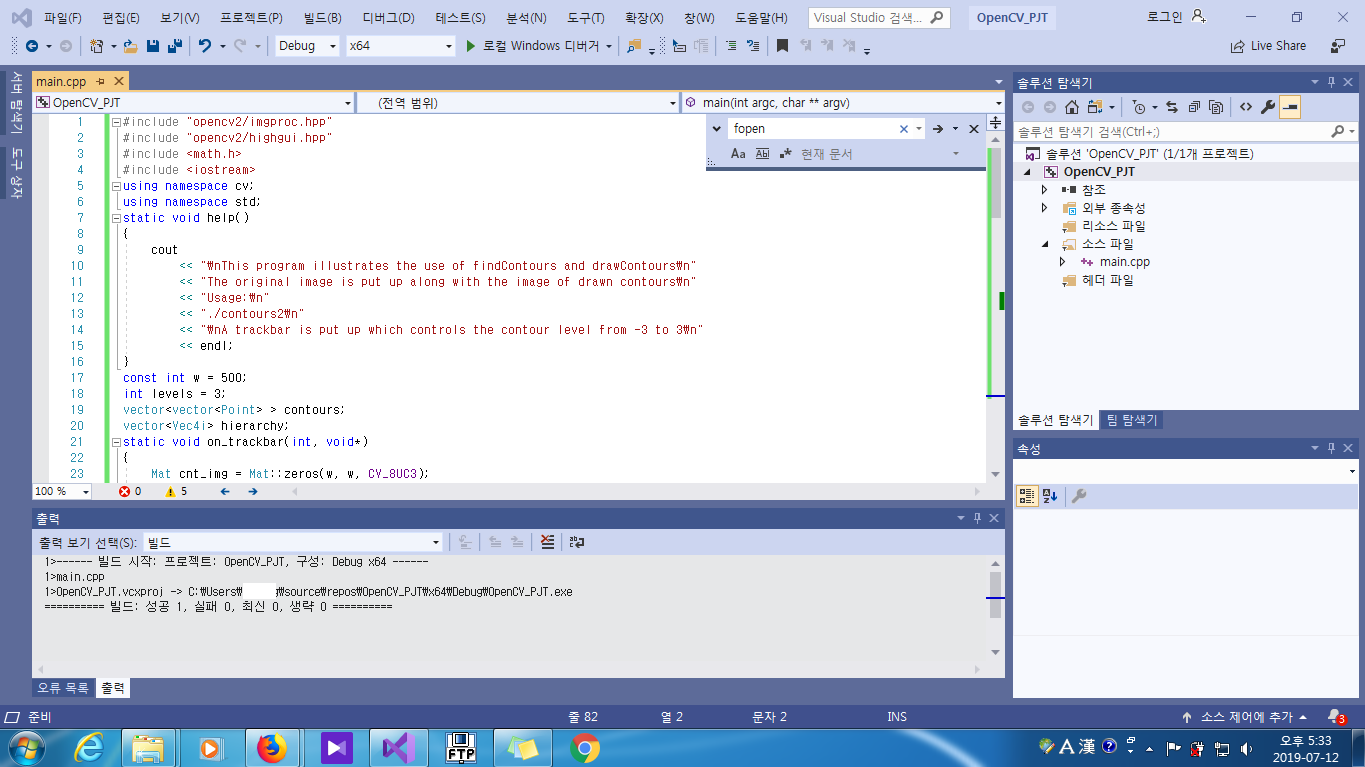
3. Visual Studio 2019에서 시연해보기
|
|
| #include "opencv2/imgproc.hpp" #include "opencv2/highgui.hpp" #include <math.h> #include <iostream> using namespace cv; using namespace std; static void help() { cout << "\nThis program illustrates the use of findContours and drawContours\n" << "The original image is put up along with the image of drawn contours\n" << "Usage:\n" << "./contours2\n" << "\nA trackbar is put up which controls the contour level from -3 to 3\n" << endl; } const int w = 500; int levels = 3; vector<vector<Point> > contours; vector<Vec4i> hierarchy; static void on_trackbar(int, void*) { Mat cnt_img = Mat::zeros(w, w, CV_8UC3); int _levels = levels - 3; drawContours(cnt_img, contours, _levels <= 0 ? 3 : -1, Scalar(128, 255, 255), 3, LINE_AA, hierarchy, std::abs(_levels)); imshow("contours", cnt_img); } int main(int argc, char** argv) { cv::CommandLineParser parser(argc, argv, "{help h||}"); if (parser.has("help")) { help(); return 0; } Mat img = Mat::zeros(w, w, CV_8UC1); //Draw 6 faces for (int i = 0; i < 6; i++) { int dx = (i % 2) * 250 - 30; int dy = (i / 2) * 150; const Scalar white = Scalar(255); const Scalar black = Scalar(0); if (i == 0) { for (int j = 0; j <= 10; j++) { double angle = (j + 5) * CV_PI / 21; line(img, Point(cvRound(dx + 100 + j * 10 - 80 * cos(angle)), cvRound(dy + 100 - 90 * sin(angle))), Point(cvRound(dx + 100 + j * 10 - 30 * cos(angle)), cvRound(dy + 100 - 30 * sin(angle))), white, 1, 8, 0); } } ellipse(img, Point(dx + 150, dy + 100), Size(100, 70), 0, 0, 360, white, -1, 8, 0); ellipse(img, Point(dx + 115, dy + 70), Size(30, 20), 0, 0, 360, black, -1, 8, 0); ellipse(img, Point(dx + 185, dy + 70), Size(30, 20), 0, 0, 360, black, -1, 8, 0); ellipse(img, Point(dx + 115, dy + 70), Size(15, 15), 0, 0, 360, white, -1, 8, 0); ellipse(img, Point(dx + 185, dy + 70), Size(15, 15), 0, 0, 360, white, -1, 8, 0); ellipse(img, Point(dx + 115, dy + 70), Size(5, 5), 0, 0, 360, black, -1, 8, 0); ellipse(img, Point(dx + 185, dy + 70), Size(5, 5), 0, 0, 360, black, -1, 8, 0); ellipse(img, Point(dx + 150, dy + 100), Size(10, 5), 0, 0, 360, black, -1, 8, 0); ellipse(img, Point(dx + 150, dy + 150), Size(40, 10), 0, 0, 360, black, -1, 8, 0); ellipse(img, Point(dx + 27, dy + 100), Size(20, 35), 0, 0, 360, white, -1, 8, 0); ellipse(img, Point(dx + 273, dy + 100), Size(20, 35), 0, 0, 360, white, -1, 8, 0); } //show the faces namedWindow("image", 1); imshow("image", img); //Extract the contours so that vector<vector<Point> > contours0; findContours(img, contours0, hierarchy, RETR_TREE, CHAIN_APPROX_SIMPLE); contours.resize(contours0.size()); for (size_t k = 0; k < contours0.size(); k++) approxPolyDP(Mat(contours0[k]), contours[k], 3, true); namedWindow("contours", 1); createTrackbar("levels+3", "contours", &levels, 7, on_trackbar); on_trackbar(0, 0); waitKey(); return 0; } |
4. 참고자료(Reference)
1. About, https://opencv.org/about/, Accessed by 2019-07-12, Last Modified 2019-07-12.
2. OpenCV: OpenCV modules, https://docs.opencv.org/4.1.0/index.html, Accessed by 2019-07-12, Last Modified 2019-07-12.
3. OpenCV: samples/cpp/contours2.cpp, https://docs.opencv.org/4.1.0/da/d32/samples_2cpp_2contours2_8cpp-example.html, Accessed by 2019-07-12, Last Modified
'소프트웨어(SW) > C++(OpenCV)' 카테고리의 다른 글
| [C++(OpenCV)] Visual Studio 2019에서 OpenCV 사용하기 (0) | 2019.07.10 |
|---|